SOLAR POWERED WIFI WEATHER STATION Circuit Diagram So a solar charging circuit was proposed to use free energy from the sun to charge the battery and power the PCB board. Li-Ion/LiPo Battery Charger: The battery is charged from a Solar panel through an LP4060 charging IC. The charger circuit charges the battery by taking power generated from the solar panel. For more in-depth information on the SparkFun Weather Gauges see the tutorial at [1]. This, and other references and resources, are available in RESOURCES at the end of the article. THE POWER SYSTEM. The Sunny Buddy solar charger requires setup before it is connected to any of the other components. Optional: Solar Panel. A great feature of the CubeCell board is the ability to connect a small solar panel; the board has onboard battery management and will charge the battery from the energy provided by the solar panel. In my installation, I used this panel, which is 110x60mm panel. I find this, coupled with a 650mAh battery, to provide more
️ Solar Power System - Make it energy-efficient with a solar panel. ️ AI-Based Weather Prediction - Use machine learning for better forecasts. ️ Voice Alerts with Alexa/Google Assistant - Get real-time weather updates via voice commands. Final Thoughts. Building your own IoT weather station at home is an exciting way to explore IoT Solar Powered WiFi Weather Station V3.0: In this Instructable, we will learn how to make a Solar-powered wireless weather station by using an ESP32 Wifi Module and few common weather sensors available in the market. An off center cut may result in the mechanical portion of the header escaping or losing some of its retention force WeatherPi is a solar powered Raspberry Pi WiFi connected weather station designed for use in the IOT by the author's company. This is a great system to build and tinker with. All of it is modifiable and all source code is included.

Solar Powered WiFi Weather Station V4.0 Circuit Diagram
In this project, we are building a dual-axis solar tracker, which allows movement in two directions: horizontal and vertical. This ensures that the solar panel can follow the sun as it moves from east to west, and also adjusts its tilt as the sun's angle changes throughout the day. Solar Tracker With Weather Station: The Schematic Diagram
![shinajaran: [IoT] DIY “Solar” air conditioning with Data monitoring ... Circuit Diagram](https://lh4.googleusercontent.com/FgZBxkwr2OeSX8DMrTl1kx2J5VGewQO-8dxIAZjrsrO9lkB87nw7UeCGD0kp6cjaU-G5DORBSEa-PuCNmwCt3l6KVp8BKsAeCXbvNB5oSQsqJJFHVBM)
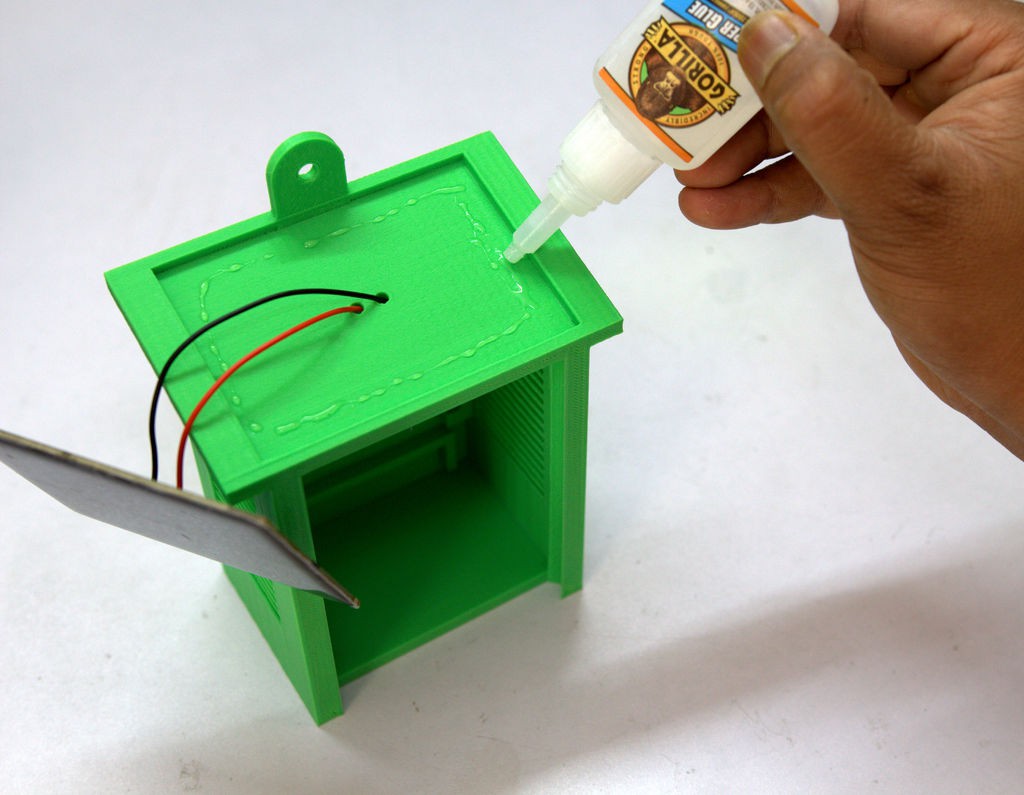
By following these steps and guidelines, you'll successfully build the hardware for your solar-powered weather station. Next, we'll dive into programming your weather station, configuring sensor readings, data logging, and transmission, and setting up visualization tools to monitor and analyze weather data collected by your station. 5. Step 4: Building a Stevenson Screen for the IOT Weather Station Now that I had the electronic solution worked out, the next step was to house everything in a weather resistant enclosure that still allowed the station access to the outside air in order to ensure accurate readings.
