9 IoT Case 06 Weather Station Smarthon Documentation 10 documentation Circuit Diagram RPi - IoT Weather Station: On this tutorial we will get data from several different sensors, sending them to an IoT service, ThingSpeak.com and to a mobile App (Thingsview), where we can log and play with data. The most simple answer is to create a single loop function to capture the data at regular bases, saving them on a local file
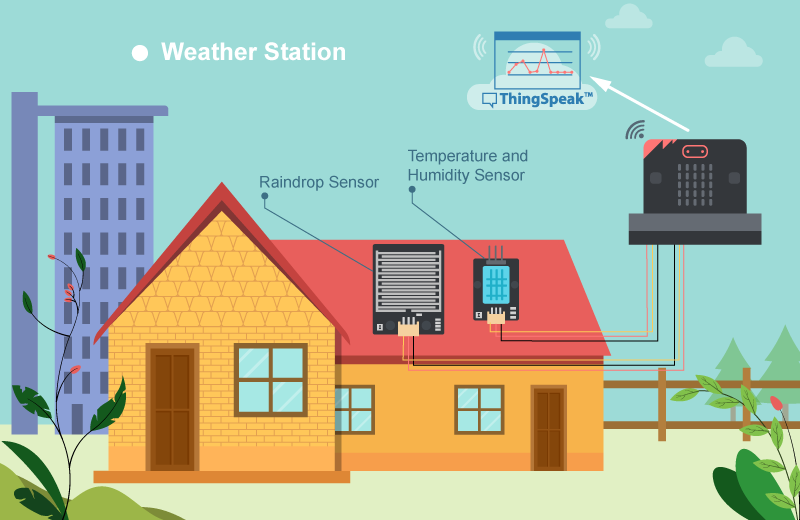
Ever wondered how to create your own weather station at home? In this easy-to-follow tutorial, we'll show you how to build a Weather Monitoring System Using hat You'll Need to Build Your Own IoT Weather Station. Here's a list of the essential components: Hardware Components • Microcontroller (ESP8266/ESP32 or Raspberry Pi) - The brain of the project. • Temperature & Humidity Sensor (DHT11/DHT22 or BME280) - Measures temperature and humidity. • Barometric Pressure Sensor (BMP280/BME280) - Tracks atmospheric pressure.
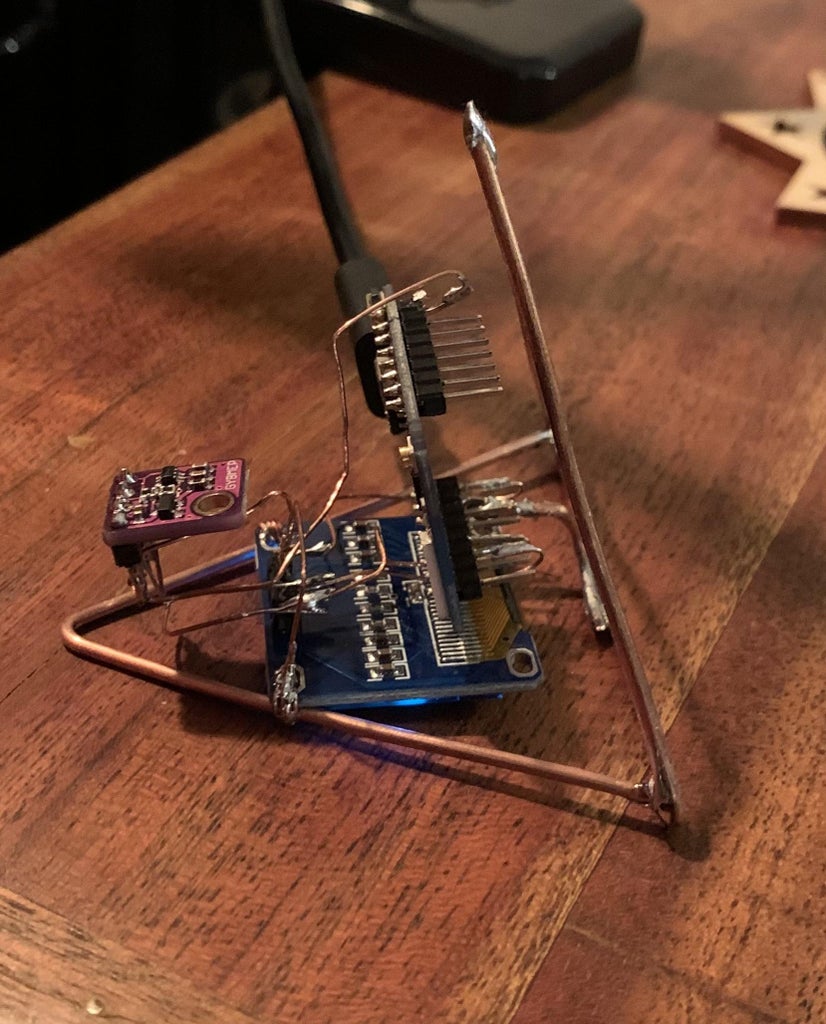
Build Your Own IoT Weather Station Circuit Diagram
In this article, we'll walk through how to create a simple weather station using an ESP8266 Wi-Fi module and a 0.96″ OLED display.By fetching weather data from the OpenWeatherMap API, we will display live weather information, including temperature, conditions, and more, right on your OLED display.This project is perfect for beginners in electronics and IoT development.

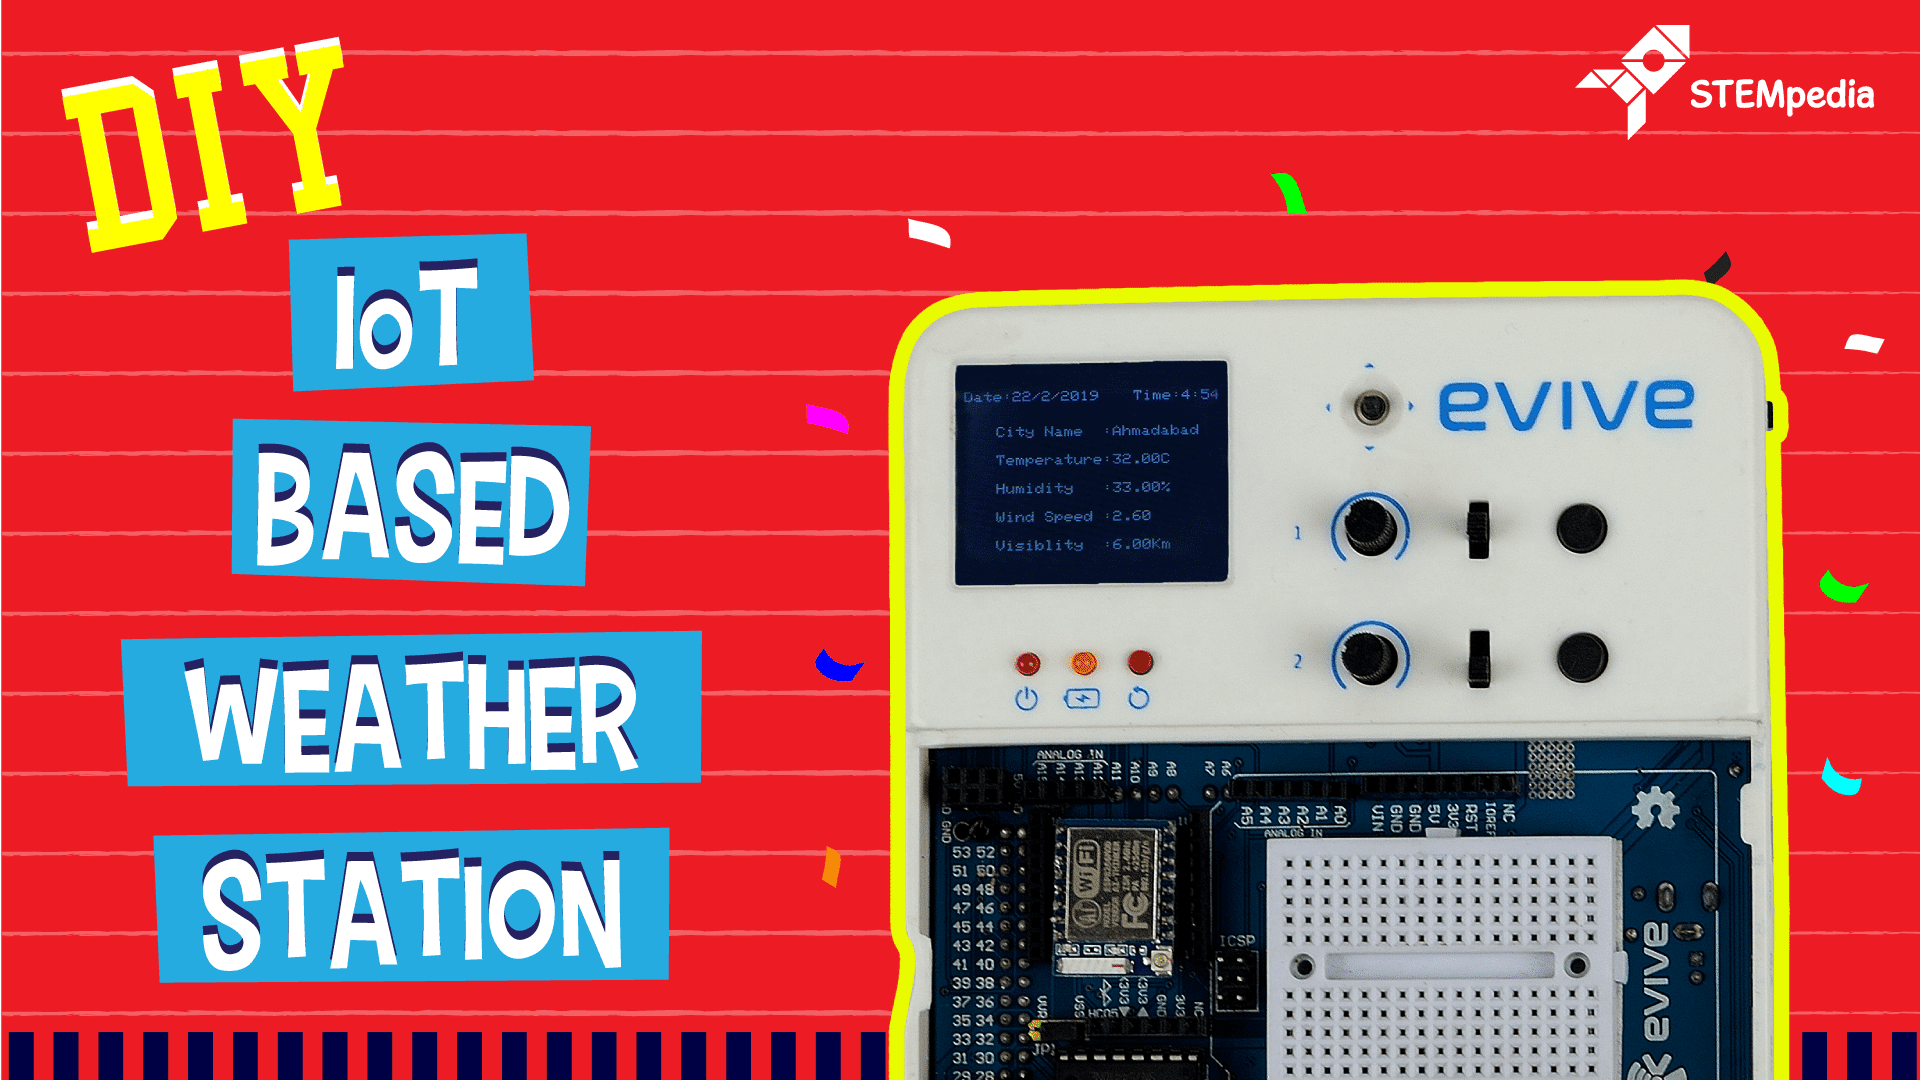
Every IoT enthusiast wants to create at least one IoT project in their lifetime.This esp8266-arduino-thingspeak project teaches how to create a simple weather station using the DHT11 temperature and humidity sensor, esp8266 wifi module, arduino uno microcontroller, and the thingspeak open IoT platform. It is a system that involves in acquiring weather and environment data using advanced electronic sensors and sending them to a web server vi Sep 3, 2022 39878 views

IoT Weather Station : 16 Steps (with Pictures) Circuit Diagram
The complete circuit for Arduino based IoT Weather Station is shown below. The DHT11 sensor is powered by the 5V pin of the Arduino and its data pin is connected to pin 5 for one-wire communication. The BMP180 sensor is powered by the 3.3V pin of Arduino and its data pins SCL For the next steps, please follow our next tutorial on how to build an IOT-based weather station. Conclusion. In this post, we learned the basics of using a Raspberry Pi as the basis for an Internet of Things-based weather station. In the subsequent session, we will learn how to develop the Python code that will bring our weather station